
Enabling HTTPS (SSL)
Follow the steps below in order to enable HTTPS (SSL) for the ServerGenius administration website and agents endpoint. As a result, administrators and machine agents will be able to access ServerGenius using the configured HTTPS port.
Please note that enabling SSL support for ServerGenius does not prevent administrators and machine agents from accessing ServerGenius using the current HTTP port configured (default is 7777 for administration website). Therefore, there is no need to reconfigure machines already monitored by ServerGenius!
Summary
- Requirements
- Open Certificate Manager
- Import certificates
- Find the certificate thumbprint
- Register SSL certificate for ServerGenius
- Configure ServerGenius SSL port
- Restart ServerGenius
Requirements
- Please make sure you have administrator privileges on the server where ServerGenius is installed.
- Enabling SSL support for ServerGenius requires a valid certificate, with the following details:
- The certificate’s Issued To or Alternate Subject Name should specify the ServerGenius website’s domain name (i.e. servergenius.mycompany.com) or the server name (i.e. COMP-SRVR01)
- The certificate’s purpose should be Server authentication
- The certificate must contain the private key
- If the certificate is not validated by a trusted certificate authority (CA) already installed in ServerGenius server, then the CA certificate is also required. Usually, the CA certificate is required when the certificate is a self generated certificate.
- The password for the private key of the certificate and the CA certificate, if applicable, are required for the following steps.
Open Certificate Manager
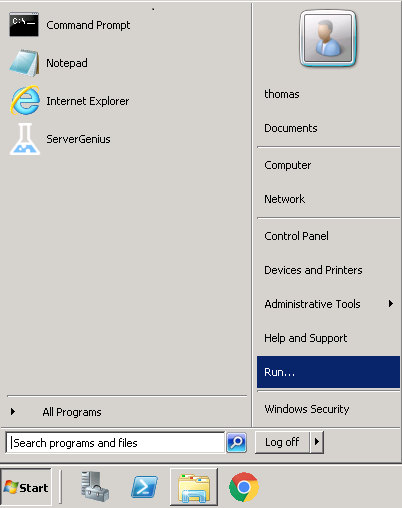
Log in as a local administrator on the server where ServerGenius is installed. Then, from the Windows task bar, click on Start. Then, click on Run….
A window opens and prompts for a program executable name. Type mmc.exe and click OK.
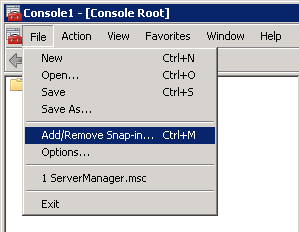
The Microsoft Management Console (MMC) opens. Click on File and then click on Add/Remove Snap-in to choose the feature to manage.
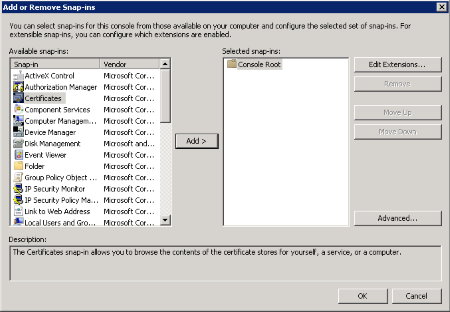
In the list of Snap-in, choose Certificates and then click on Add. The snap-in is added to the Selected snaps-inscolumn. Then, click OK.
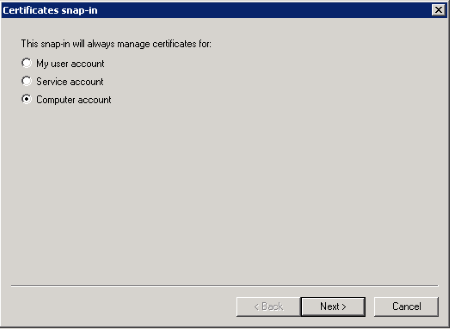
In the dialog that appears, select Computer Account, then click Next.
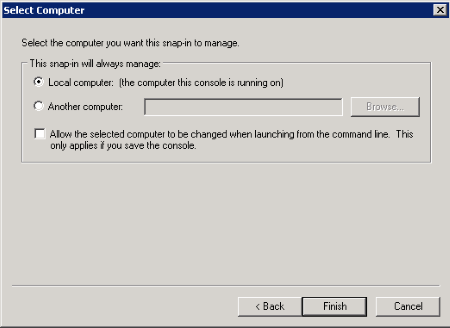
Choose Local Computer and click Finish.
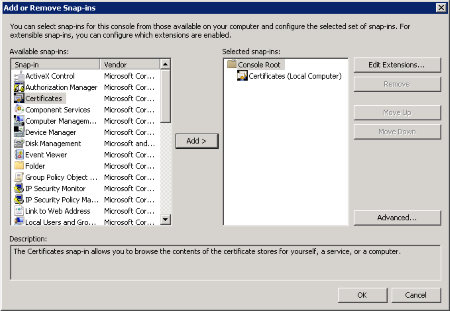
Click OK to proceed with importing the certificates.
Import certificates
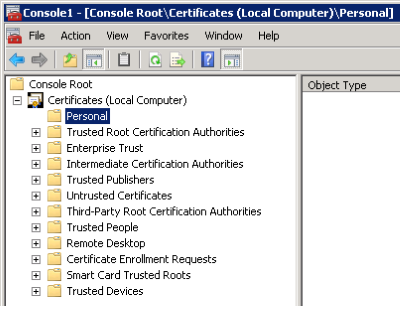
In the MMC window opened in the previous section, drill down to Certificates (Local Computer) and Personal.
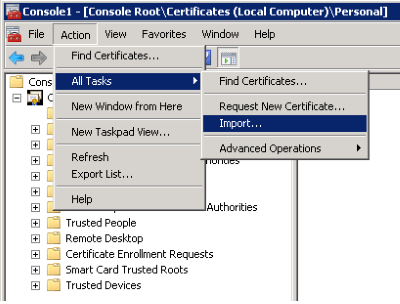
From the Action menu on the command bar, select All Tasks and then click on Import….
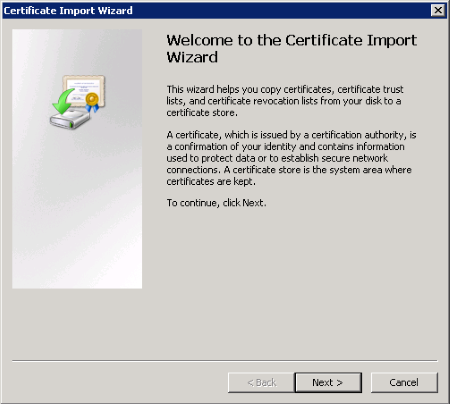
The Certificate Import Wizard opens. Click Next to continue.
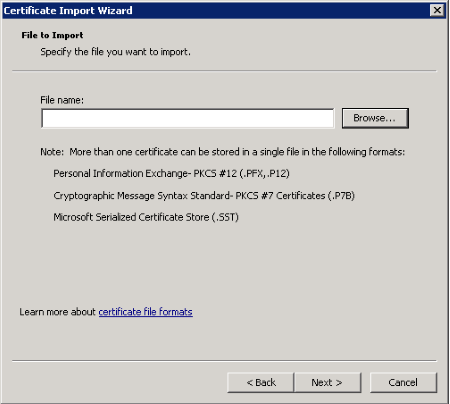
In this step, Click on Browse to find the cerficate. Then, click Next to continue and import the selected certificate. On the next screen, enter the password you chose for the certificate.
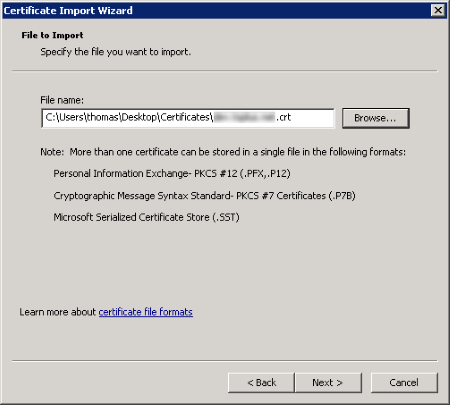
Click Next to continue.
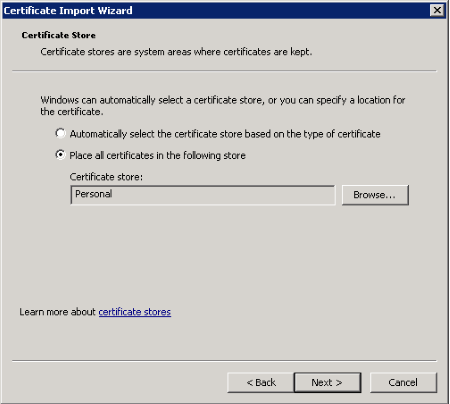
Choose Place all certificates in the following store. Verify that the selected certificate store is Personal, then click Next.
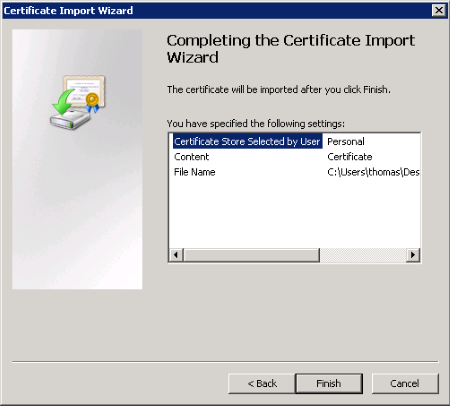
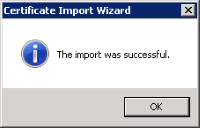
Click Finish to import the certificate.
Note:
If you need to import a CA authority certificate, repeat the import procedure above for the CA certificate.
Find the certificate thumbprint
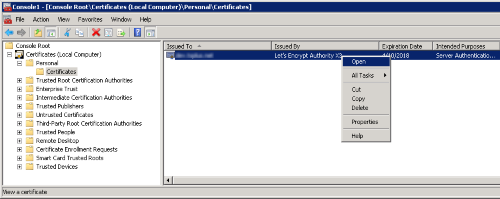
From MMC, right-click on the certificate and click Open.
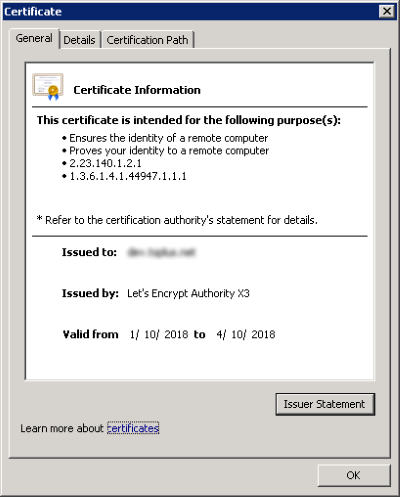
The certificate’s details are displayed. Click on Details tab to display the certificate’s properties.

Copy the value of the Thumbprint property for the next steps.
Register SSL certificate for ServerGenius
From the administrative command line, type the following to set up the SSL binding to ServerGenius, and specify the appropriate port:
netsh http add sslcert ipport=0.0.0.0:7778 certhash=11d66d6b314a3b041ffcf8c0ad72758704d5d18b appid={35c57165-b326-49b5-9346-f4e2cf7f2353}

The above command line takes the following parameters:
- ipport defines the IP address and port which should be configured for ServerGenius. By default, we suggest to use port 7778.
- certhash identifies the certificate by its thumbprint, found in the previous section.
- appid specifies the application ID. ServerGenius application ID is 35c57165-b326-49b5-9346-f4e2cf7f2353.
For Windows XP and earlier:
If your ServerGenius server is running under Windows XP or an earlier Windows release, the command netshwon’t be available. use the httpcfg command instead as below:
httpcfg set ssl /i 0.0.0.0:7778 /h 11d66d6b314a3b041ffcf8c0ad72758704d5d18b /g "{35c57165-b326-49b5-9346-f4e2cf7f2353}"
Configure ServerGenius SSL port
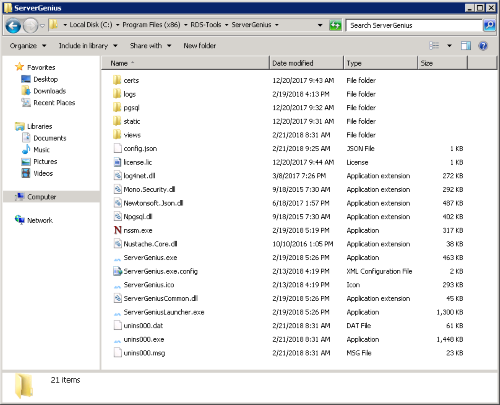
Open Windows File explorer and navigate to ServerGenius setup directory. By default, the ServerGenius setup path is the following:
C:\Program Files (x86)\RDS-Tools\ServerGenius
Then, open the file config.json and specify the SSL port (e.g. 7778) as the value of the SslPort property.

Note: in order to disable SSL for ServerGenius, rollback the changes by setting the SslPort property’s value to 0and then restart ServerGenius.
Restart ServerGenius
From the administrative command line, type the following to restart ServerGenius service:
net stop ServerGenius && net start ServerGenius
ServerGenius is now configured to use SSL (HTTPS).