
RDPlus: Get started
Step 1 : Installation.
Installing RDPlus is an easy process. Just download it from our web site, run the Setup-RDPlus.exe program and wait until the program asks you to reboot. We recommend you to install Java prior to start the setup program. Java is mandatory to benefit from our great Web Access technology.
See the documentation for installation.
Files are decompressed and copied into:
- C:\Program Files\RDPlus folder (32-bit systems)
- C:\Program Files(x86)\RDPlus folder (64-bit system).
The trial version is a full RDPlus Enterprise Edition and enables up to 5 concurrent users for a period of 15 days.
After the reboot, you will see 2 new icons on your Desktop:
The AdminTool is what you need to use RDPlus.
The Portable Client Generator will create a RDPlus connection client for your users.
Pre-requisites:
On Server side:
From Windows XP to W10 and Windows 2003 to 2019 Server with at least 2GB of memory.
The operating system must be on the C drive. On Windows Server Environment, please make sure that the TSE/RDS role and the TSE/RDS licensing role are not installed to prevent conflict with RDPlus services.
It is mandatory to use a fixed private IP address and a fixed public IP address. If your ISP (Internet Service Provider) did not provide you with a fixed public IP address, you need to subscribe to a free DNS account.
On Client side:
Microsoft workstation: Windows XP, W7, W8 and W10 are supported. A PDF Reader (like FoxIt) and Java should be installed on the users PCs.
Macintosh workstation: You can use any MAC RDP client, or RDPlus HTML5 clients.
Linux Workstation: You can use Linux Rdesktop RDP client or RDPlus HTML5 clients.
Step 2 : Creating users.
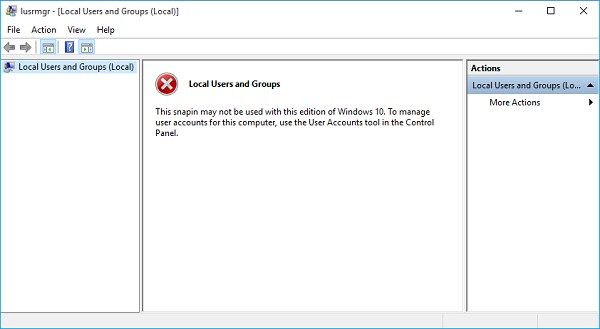
After reboot, the RDPlus host is almost ready to go. So the first action will be to create users and the AdminTool will help you to do so. Go to the System Tools tab, then click on “Users and Groups”. This will take you to the Local Users and Groups window:

Each user must have a logon AND a password. Beware when you create users of the box checked by default: “User must change password at next logon”, if you don’t want your user to change his/her password each time, uncheck this box and check the “Password never expires” or “User cannot change password”.
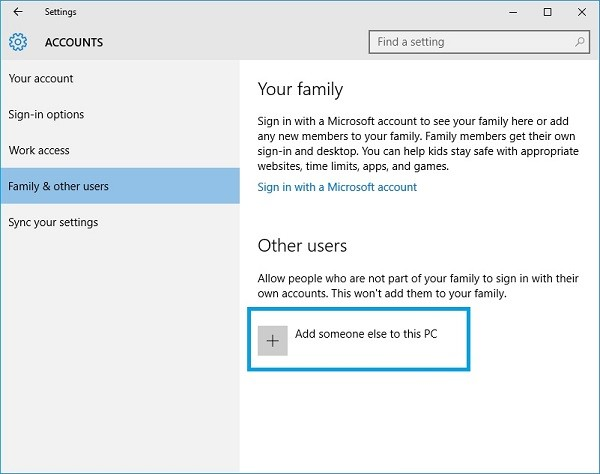
- For Windows 10 Home users, the process to create users is different, since you will get this error message if you wish to create users with RDPlus:
Open the Start menu and click on Settings, then on Accounts, select the ‘Family and other Users’ tab, and click on the ‘add someone else to this PC’ button:
On the ‘How will this person sign in?’ window, click on the ‘I don’t have this person sign-in information’ line at the bottom.On the next window: ‘Let’s create your account’, click on the ‘Add a user without a Microsoft account’ line at the bottom and finally, fill-in the required fields to create your user.
Step 3 : Select the most suitable client for your needs.
RDPlus complies with Windows RDP protocol. So, any user can connect locally or remotely with a standard Remote Desktop Connection client (mstsc.exe) or any RDP compatible client. To fully benefit from the RDPlus advanced features (Seamless client, RemoteApp, Universal Printer…) you can use a RDPlus generated client or the RDPlus Web Portal.
RDPlus is a very flexible solution and offers multiple ways to open a session:
- Classic Remote Desktop Connection (MSTSC.EXE).
- Portable RDPlus RDP client which will display a windowed environment for your remote connection that you can minimize in the Windows taskbar.
- RDPlus Seamless client which will only display applications and no desktop.
- MS RemoteAPP client which will display application using the native MS RemoteApp.
- Windows client over the RDPlus Web Portal.
- HTML5 client over the RDPlus Web Portal.
These clients give the user the following experience:
With Remote Desktop Connection (mstsc.exe)
- Connection: The connection is a very standard one. The Universal Printer is not supported with this type of connection.
- Display: Users will see their session within a Remote Desktop window. This desktop displays the content of the user’s desktop folder.
If the administrator has assigned specific applications with the AdminTool, only these applications will be displayed (no taskbar, no Desktop).
This is a unique RDPlus solution, it empowers local and remote users to connect using one single dedicated program.
It includes the connection program, the Universal Printing advanced feature, portability with high level of security while keeping it very simple for the users.
So, it is much better than a classic Remote Desktop Connection. For more information about this client generation, see this documentation
The RDPlus RemoteApp generated Client (or the Seamless one).
Remote applications will exactly look like any local application. Instead of a classical Remote Desktop window, you will be free to switch between your local and remote applications without having to minimize a Remote Desktop window.
If your RDPlus host does not supports the MS RemoteApp (for operating systems older than Windows 7 or Server 2008, and that you don’t have RDP6), you can use the RDPlus Seamless alternative for the RemoteApp technology. For more information about these clients, see this documentation.
Accessing your RDPlus server from a remote location
In order to access your RDPlus server from a remote location, you will have to create a port forwarding or port redirection rule of 3389/80/443 ports depending on your preferred connection method. You can change the RDP port on the Home tab:

The 80/443 ports can be changed on the Web Server tab:
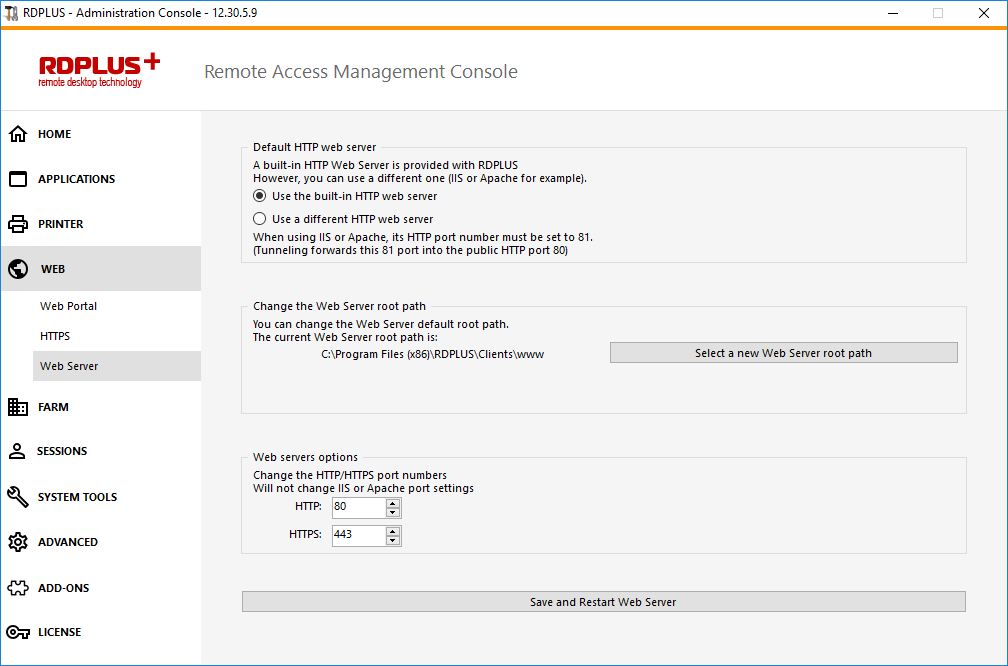
More information about changing communication ports can be found here.
Step 4 : Application publishing and Application Control.
One of RDPlus major benefit is the freedom to assign application to user(s) or to a group of users using the AdminTool.
- If you assign one application to a user, he will only see this application.
- You also can assign him the RDPlus Taskbar, the Floating Panel or the Application Panel to display multiple applications.
- You can of course decide to publish a full Remote Desktop if you want to.
Go to the Applications Tab to add, edit, remove and assign Applications.
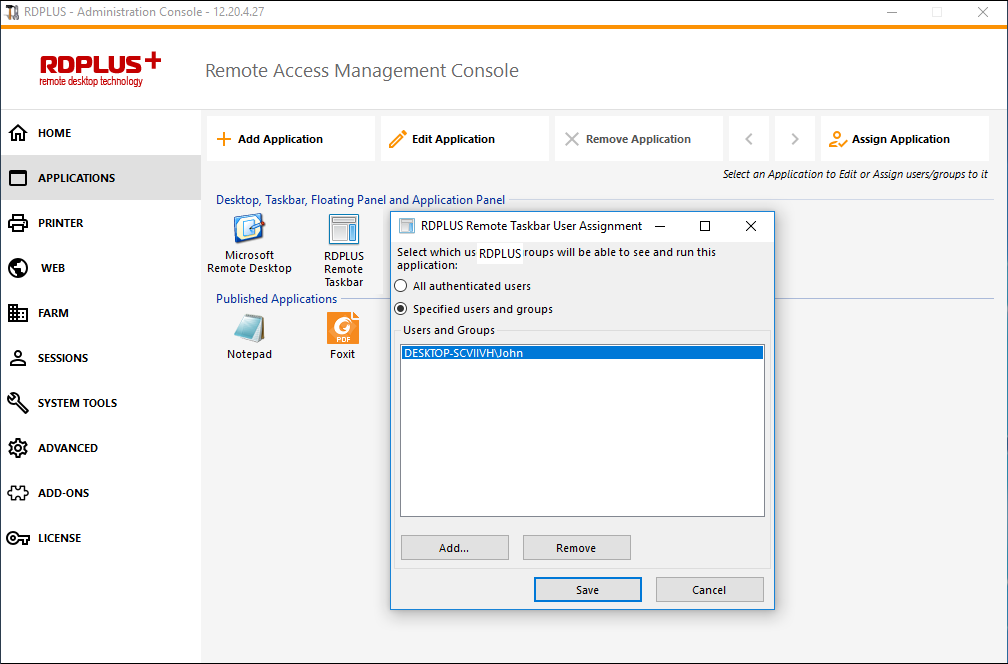
On this example, the administrator has decided that the user ‘John’ will get the RDPlus Taskbar. See this documentation for more information.
Please visit our support pages on our web site where you will find an On-line Guide, video tutorials, a Support Center with an FAQ and a Forum.
ENJOY your use of RDPlus !